If you’re out and about with your laptop, or just in a different room than your charging cable, you want to eke out as much time as possible before the next recharge—and an important part of that is knowing which apps are draining the battery the quickest.
Once you know who the worst offenders are as far as battery drain is concerned, you can do something about it. Maybe you can use the programs in question less often, enable any battery-saving features (if they’re available), or uninstall them altogether and switch to less power-hungry alternatives.
Take Google Chrome, for instance—not a program known for its light touch on system resources. If you find it’s putting a lot of stress on your battery, you can turn on the Energy Saver feature, or perhaps just be more careful about how many tabs you’ve got open at any one time.
Here’s how to track down the apps using most battery life on Windows and macOS.
Tracking apps on Windows
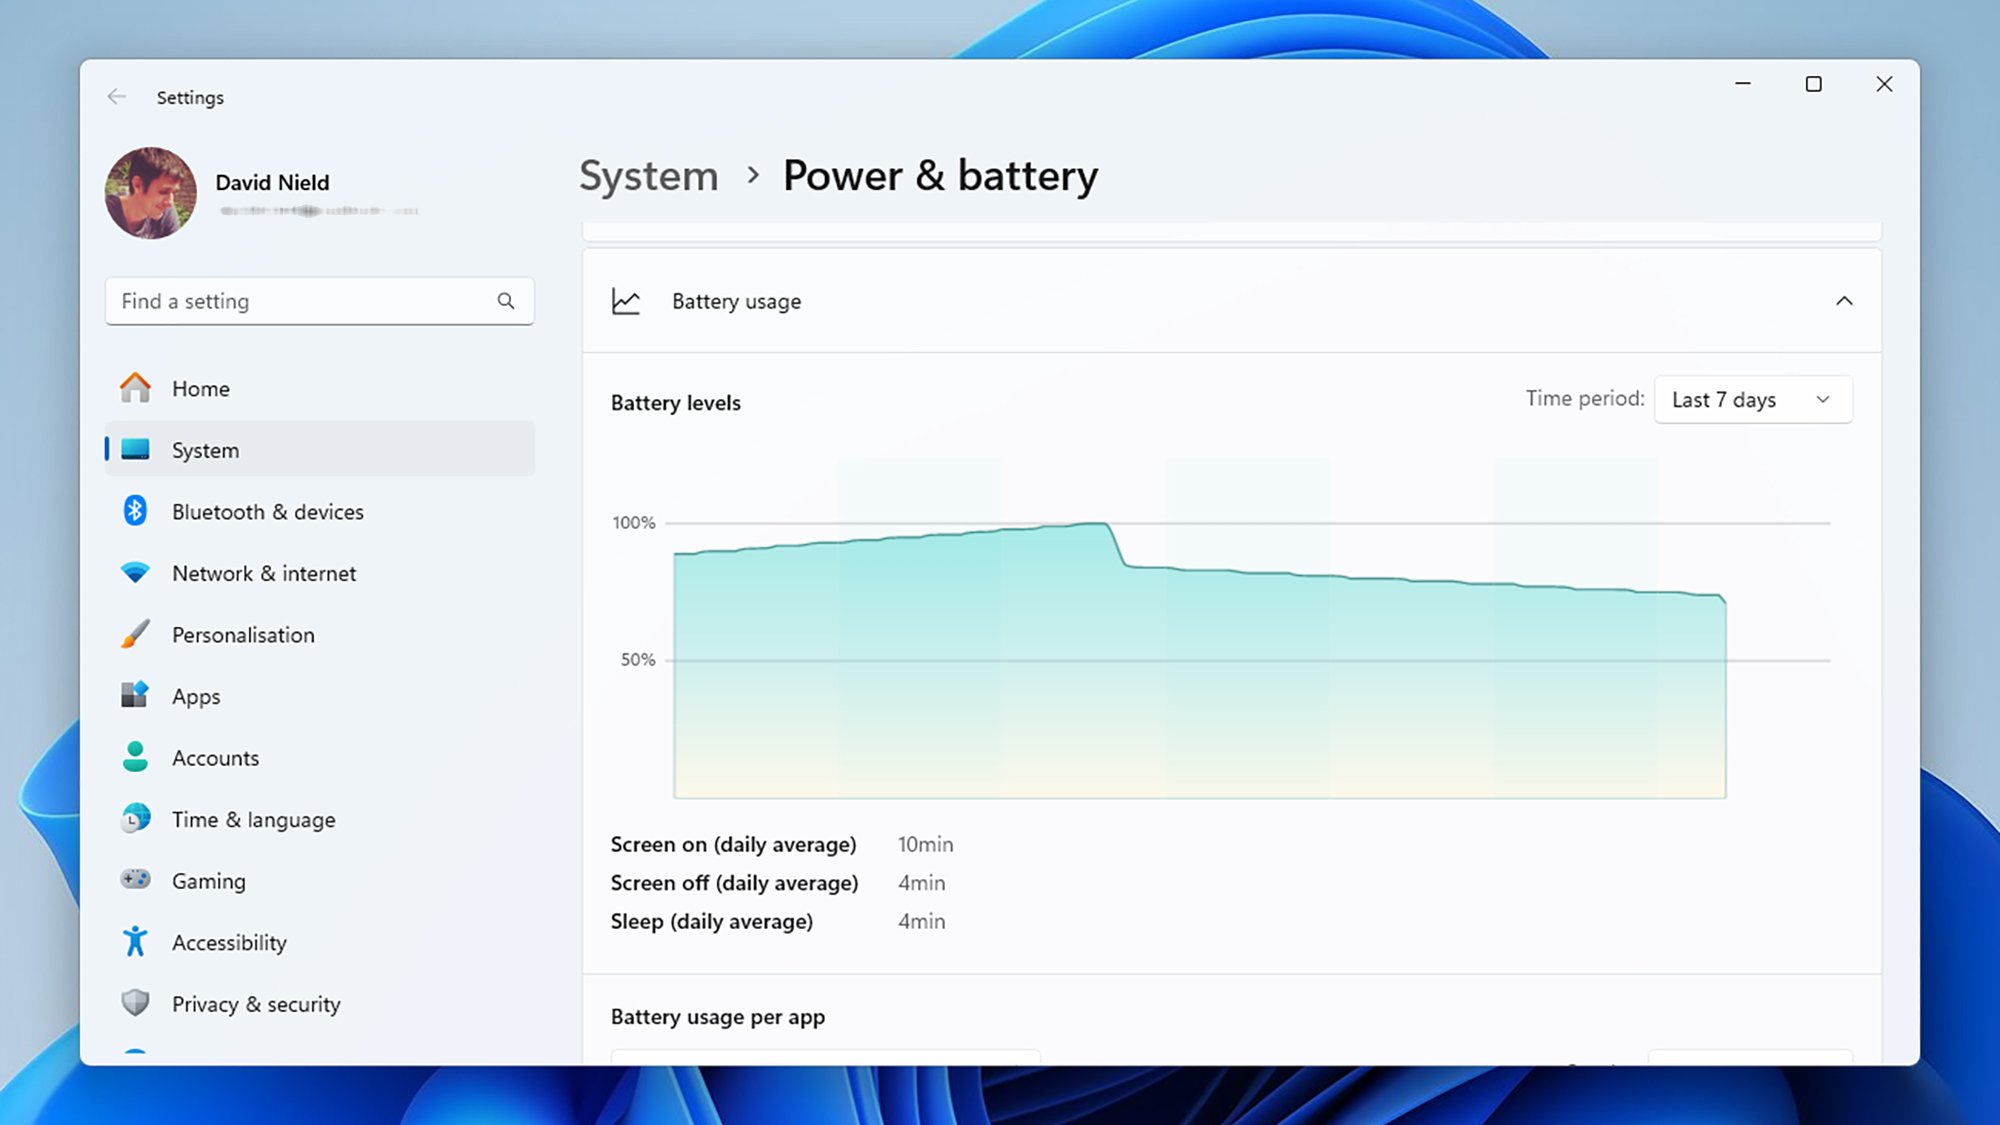
Load up the Settings screen from the Start menu, then choose System and Power & Battery. If you click Battery Usage, you’ll see how your laptop battery level has dropped over the last 24 hours or the last seven days (open the drop-down menu on the right to switch between the two time periods).
Underneath the main graph, you should see a list of the programs that have been responsible for the battery drain over the last day or the last week, with the biggest battery hogs listed at the top. If you can’t immediately see an app you want to check up on, scroll down the list or use the search box just above the list. If an app doesn’t show up, then it hasn’t affected the battery level for the chosen time period.
Credit: Lifehacker
The drop-down menu under Sort by lets you order the apps by name rather than by battery usage. You can also choose to see programs based on how much battery life they’ve used up while in use, while running in the background, or both together (which is probably the most useful metric).
With certain apps, you can click the three dots next to them and choose Manage background activity to reduce the demands they place on the battery when they’re not being used. This feature is mostly available with native Windows applications, including Notepad and Paint, and will take you to the settings for that app.
Tracking apps on macOS
Over on macOS, you can start your investigations by clicking on the battery icon on the menu bar up in the top right corner of the screen. This will tell you which of the apps that you currently have open are “using significant energy”—so you’re most likely going to see your web browser or your video editing software here.
Click Battery Settings from the same pop-out dialog and you can see how your MacBook’s battery has drained over the last 24 hours or the last 10 days (use the tab switcher just above to change between these two views). You can also turn on Low Power Mode and other battery options (like dimming the screen when on battery power).
Credit: Lifehacker
What you can’t do from this screen is see any more about which apps are using up battery—there’s no simple list as there is on Windows. Instead, load up Activity Monitor from Spotlight or the Utilities folder in Finder, then switch to the Energy tab: You get to see which apps are currently using up most battery life, and which have been the most demanding in terms of energy use over the last 12 hours.
To limit which apps can run in the background as well as in the foreground on your MacBook—which again can affect battery life—you need to go back to System Settings (via the Apple menu). Open the General tab, then click Login Items & Extensions, and you’ve got a series of permission toggle switches for all the installed programs that have requested to run in the background.