We may earn a commission from links on this page.
You’ve probably seen them in your public park, surrounded by picnic tables. Monuments to summer gatherings and shared meals with friends and family, public charcoal grills belong to the community—and that includes you. Here’s how to use one safely and respectfully to your fellow grillers.
Credit: Allie Chanthorn Reinmann
How to nab a public grill
Head out early. In Brooklyn, I’ll go running around 8am on the weekends and see entire tents and chairs already staking claim to a grill space. Folks love to set up early, and it’s not a bad idea considering summer mornings are a little bit cooler so you can set up some shade and send friends on errands if you forgot anything.
Ideally, you’ve located a free charcoal grill and you’re come prepared with your marinated meats, skewers, fruit, veggies, or burgers.
What you’ll need for grilling
Beyond your food, you’ll need some accoutrements to prepare you for your charcoal-grilling adventure, including:
Coal scoop, rake, or paper bag
Tongs
Foil
Charcoal chimney, if preferred
Charcoal
Bottle of water
Aluminum pan
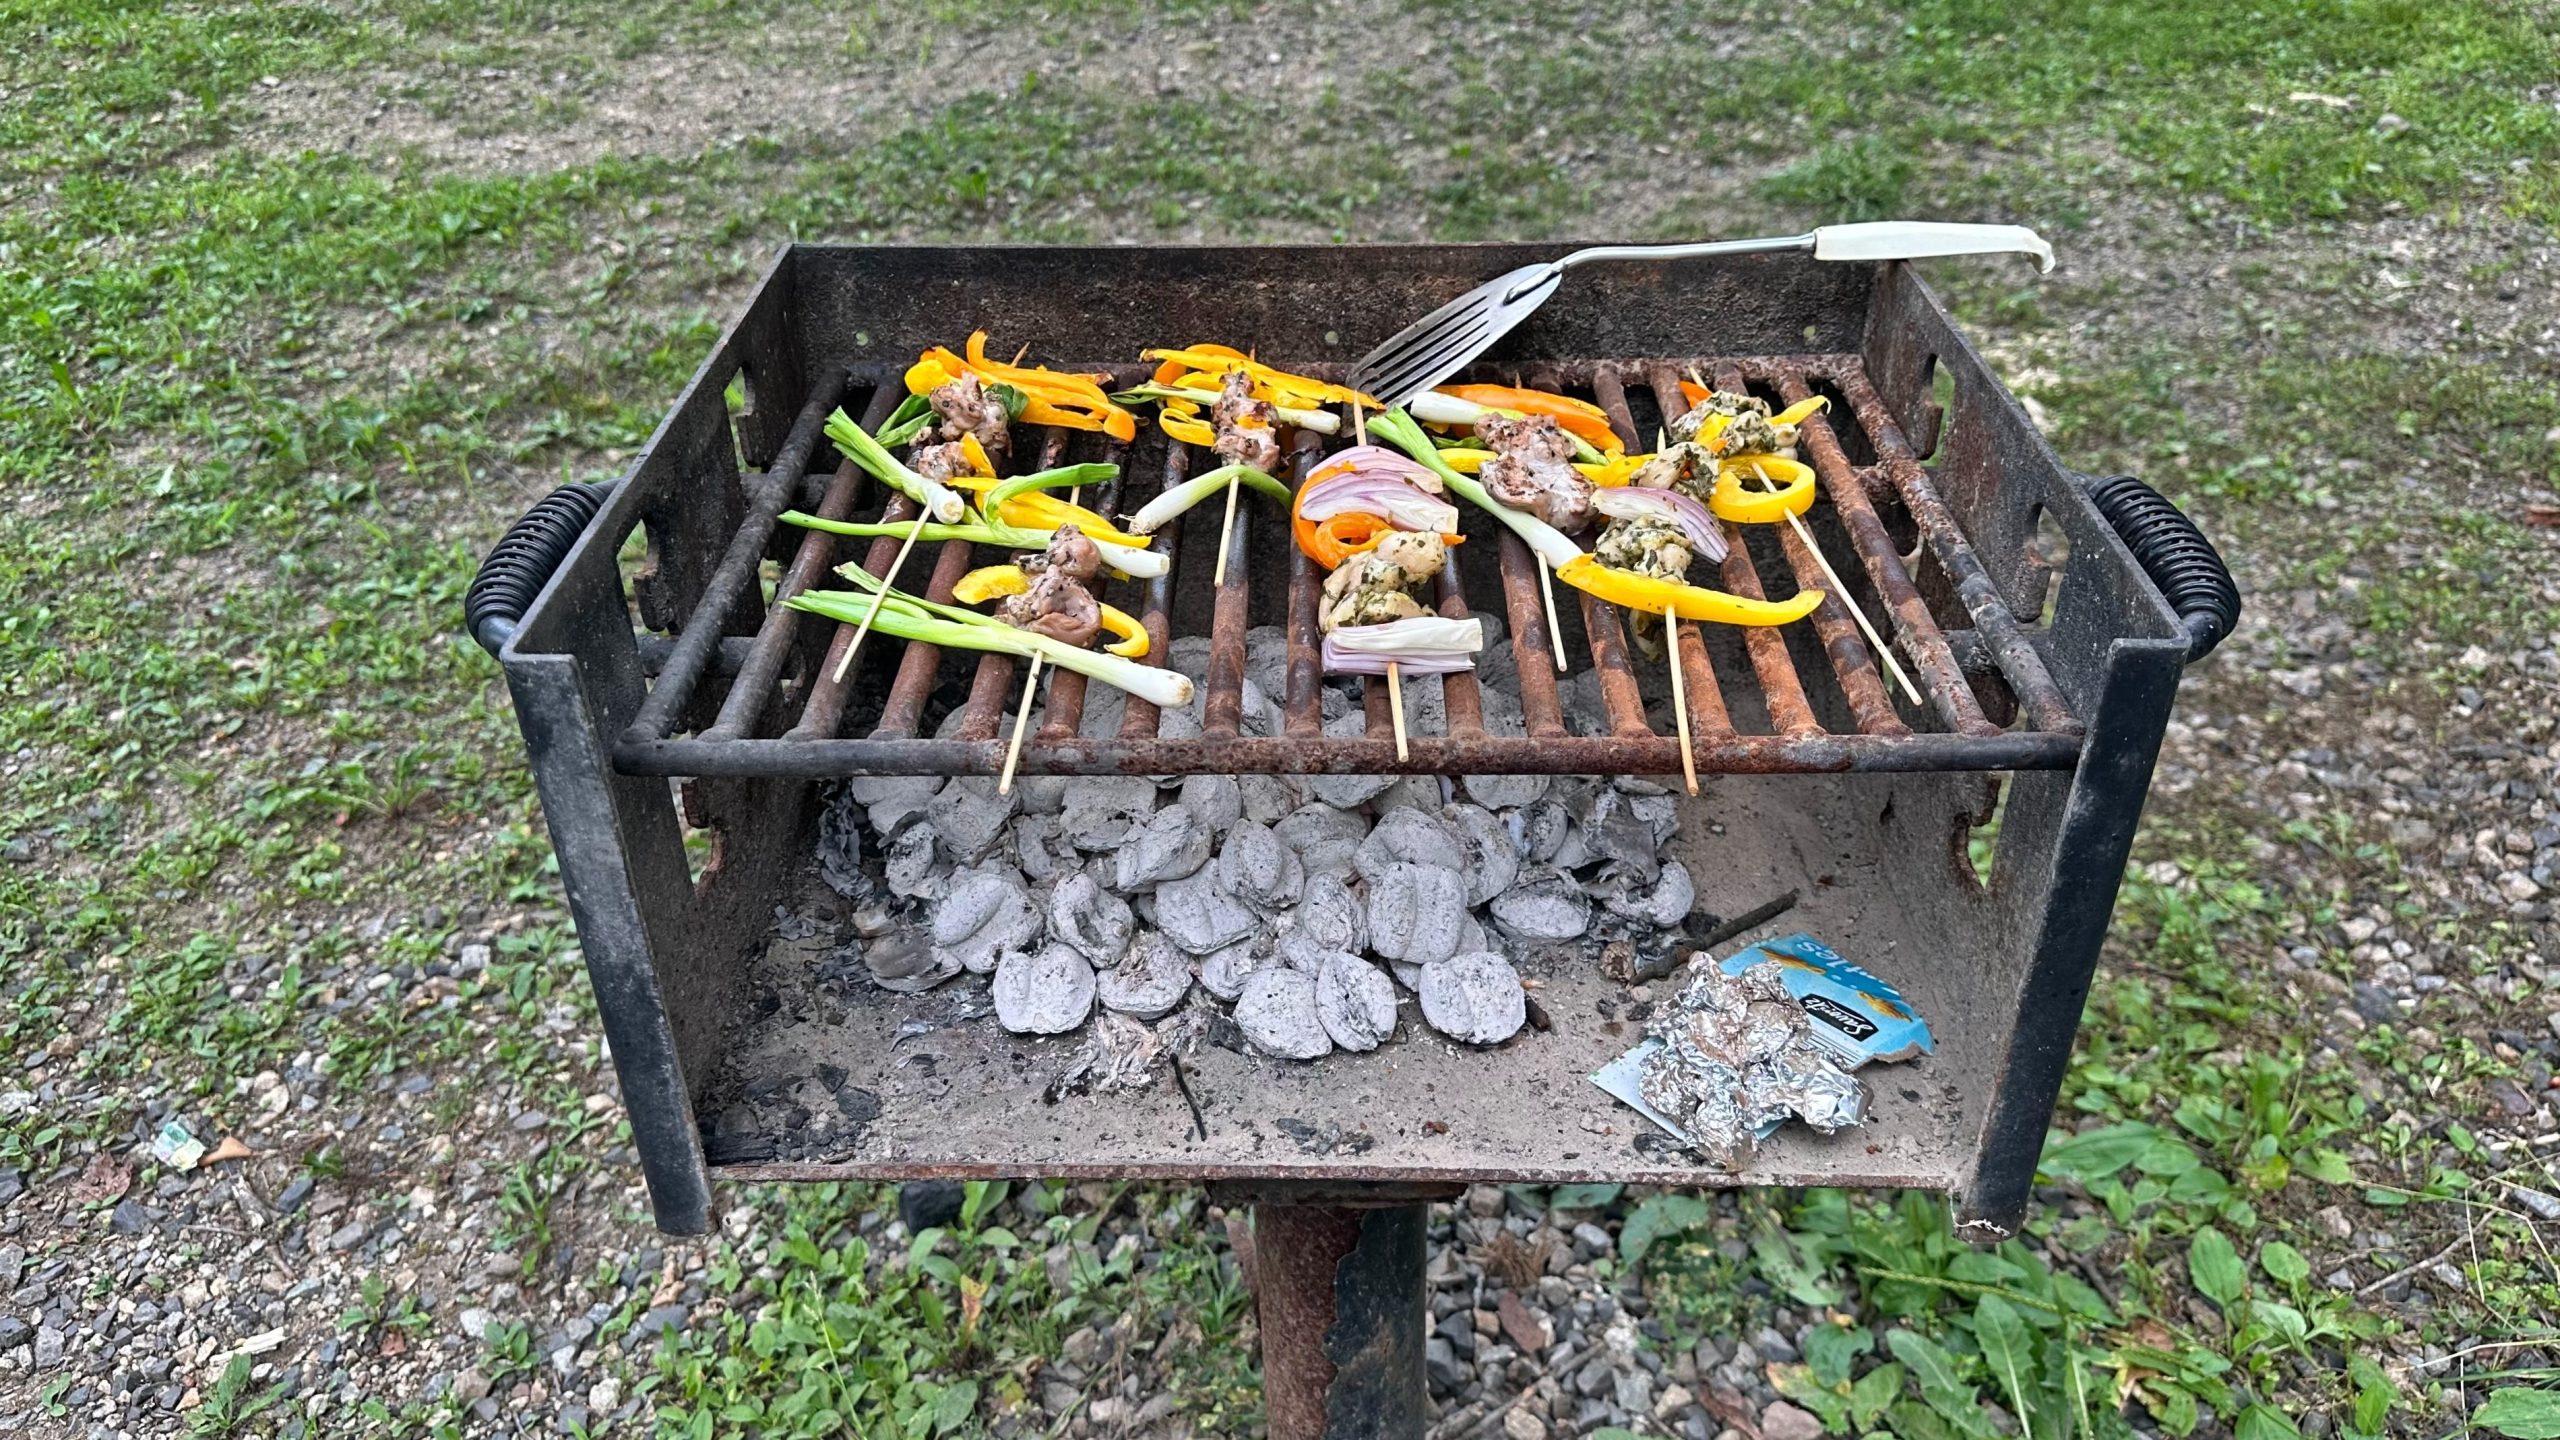
In a perfect world, the folks last occupying this grill cleaned up their ashes and spent coals. In reality, you’ll probably roll up to a grill that looks like this.
Credit: Allie Chanthorn Reinmann
How to prepare a public grill for use
First, sweep out the old charcoal debris. If you think you’ll be using public park grills a lot, you might consider getting a dedicated tool, like a coal scoop. Otherwise, you can use a paper bag to scoop the dust and debris out from the grill and into a trash bag.
Next, you’re going to light your coals. You might be thinking: Wait, scrape the grate first ! But I save that for the next step because the grease from whatever is stuck on there will come off easier once it’s a bit warm. I like to use a charcoal chimney, but my dad prefers going the charcoal pyramid route. (The pyramid method requires stacking charcoal briquettes in a pyramid shape and lighting them from the bottom.) Use whichever method you prefer. Once your coals are ashy on the outside, you can arrange them in the area below the grill grate.
Let the coals heat up the grill grate for about five minutes. It’s like preheating an oven, with the added benefit of loosening up any stuck on crust from previous grilling sessions. Now it’s time to scrape the grate. Wad up some aluminum foil into a ball and grab it with long metal tongs. Use the tongs to clean the grill grates by running the foil over each bar.
Your grates should now hot and cleaned off and ready to cook. Enjoy your afternoon of grilling and chatting with friends. Add more coals as needed to continue grilling.
How to clean up after you’re done grilling.
I like to abide by the old saying, “leave it better than when you found it.” If you can see that your picnic guests are starting to slow down and food isn’t flying off plates as quickly as before, you can retire the grill. Stop putting food on and let the remaining coals run out. Wad up some more aluminum foil and scrape down the bars while they’re still warm so you can leave the grate clean for the next user.
Credit: Allie Chanthorn Reinmann
Depending on how many coals you used or how big the grill was, you may have to wait a while for your coals to die out. This might be fine if the party is still going for hours after the grill has been retired. If the coals are still hot, be sure to extinguish the coals with some water from a water bottle. The ashes will be gross and a bit muddy, but once they’re no longer glowing you can scoop them into an aluminum pan and dispose of the ashes in a metal trash bin. (You can reuse the aluminum pan for this next time if you plan on doing this again.)
Credit: Allie Chanthorn Reinmann
Most parks with grills will have a dedicated coal bin just for this purpose—it’s completely metal like the one in the picture. Do not toss used coals into a plastic or paper lined bin just in case any of the coals haven’t been completely extinguished. Well done—your grilling day is finished. Pat yourself on the back for hosting a perfect summer outing.