We may earn a commission from links on this page.
No matter how new or how well-built, every house needs work or maintenance on a regular basis. You can pay professionals to do it all, of course, but if you’re looking to save a little money (or just want to learn and be in control of your home maintenance fate), there are plenty of home repair jobs that can be DIY’d. If you’re a beginner who’s just getting started on DIY maintenance and repair, however, you should watch out for some easy and common mistakes inexperienced DIYers make.
While some of these mistakes will be obvious the moment you make them, it’s also easy to get through an entire project and have superficial success only to see that success slowly fade into failure because you’ve made a simple error. If you go into your next project with these easy DIY mistakes in mind, however, you can avoid a lot of problems.
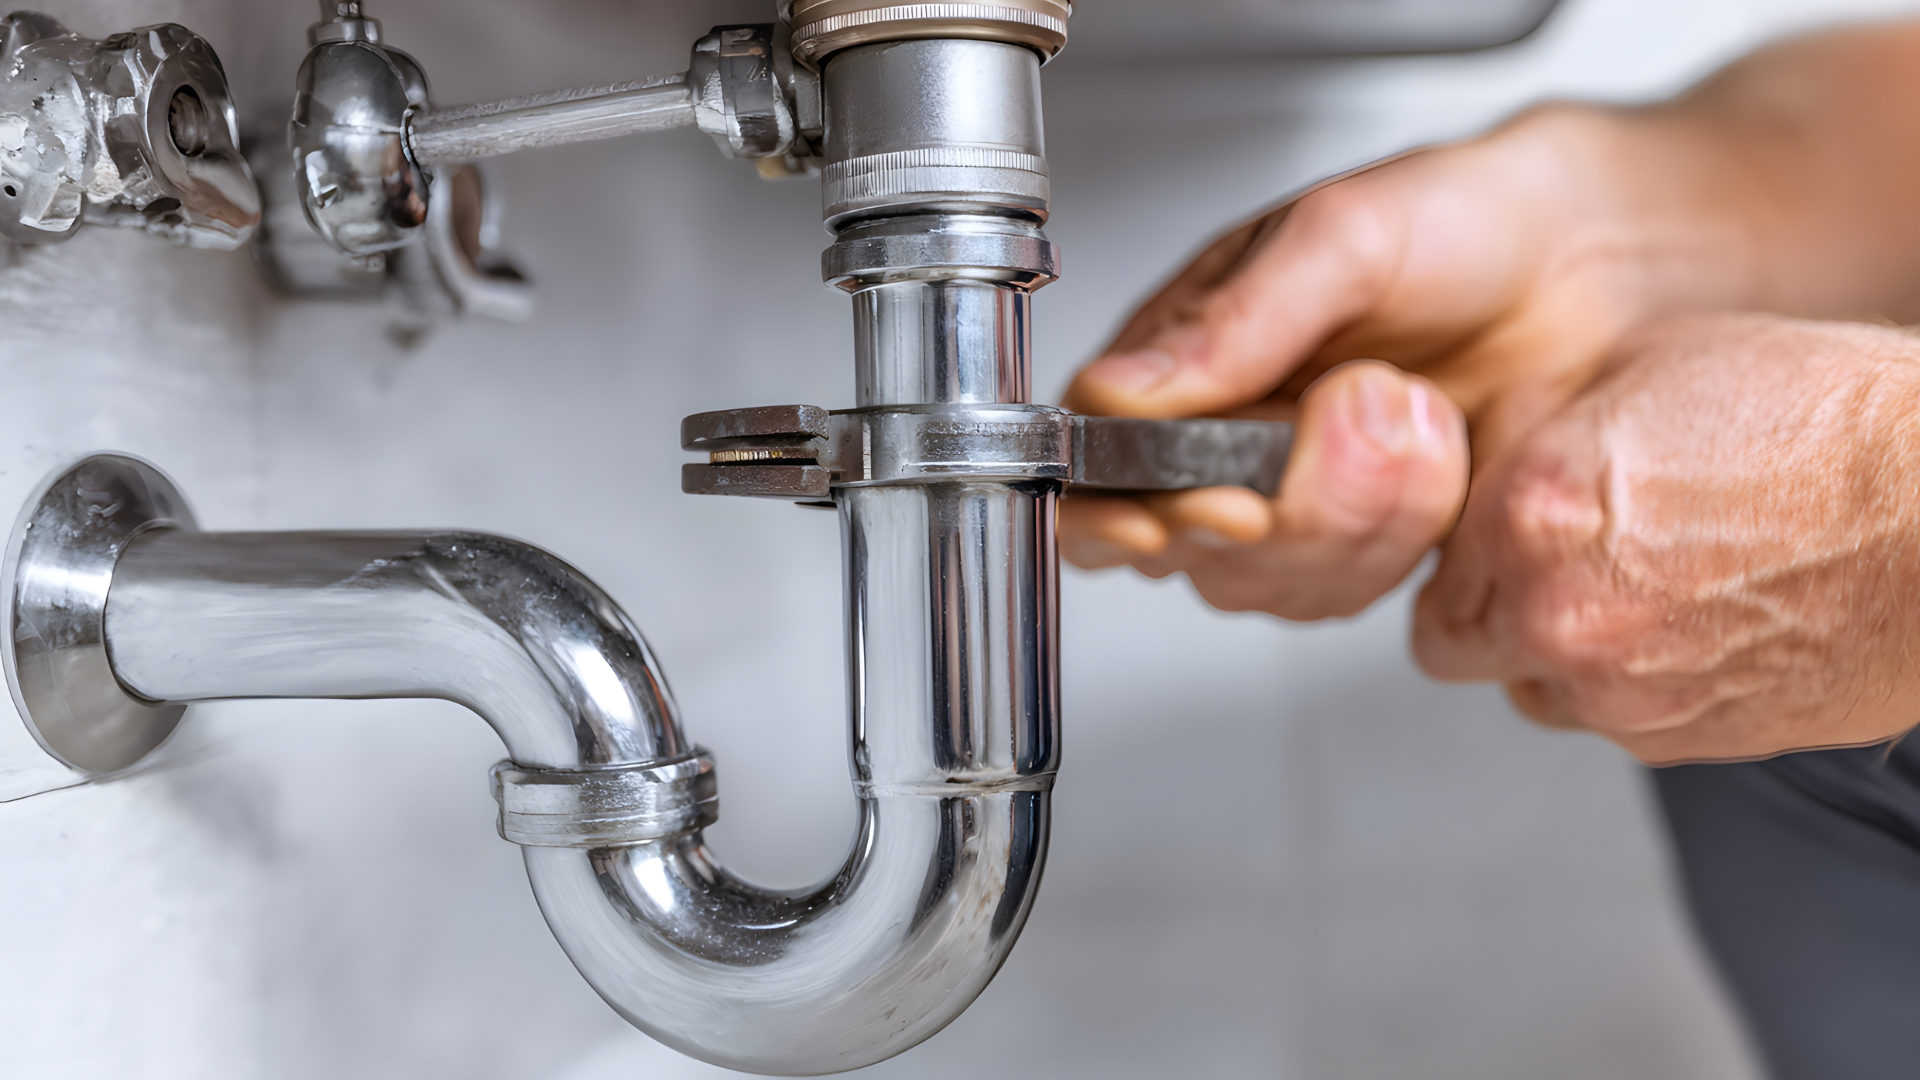
Over-tightening
One of the most common mistakes beginner DIYers make is to assume that if tight is good, extra tight is better. This is especially true for plumbing jobs. We all fear water leaks and how easily they can destroy whole sections of your house, so it seems to make sense that when you’ve replaced the trap under your sink or swapped in a new drain or faucet you should tighten those connections as much as you can. But over-tightening any connection, bolt, or screw can lead to disaster because it can cause small, subtle cracks that lead to failures and leaks that may not become evident until days or weeks later.
Additionally, tightening things until your eyes pop out of your head usually means that trying to remove that fitting or bolt later will be almost impossible. If you want to be kind to Future You (or the next person to own your home), avoid over-tightening. A good rule of thumb is to tighten plumbing until it’s watertight, then stop, and to tighten screws and bolts only as much as necessary to get the job done.
Caulking empty tubs
Re-caulking a bathroom every few years is a very good idea. Caulk isn’t forever, and even a tiny failure can allow damaging moisture to invade your walls and floors. And caulking is a DIY job almost everyone can do to an acceptable standard.
But if you’re re-caulking a tub, the easiest mistake to make is to do it dry. That’s because water has mass. A gallon of water weighs about 8.34 pounds, and standard bathtubs hold anywhere from 80 to 100 gallons or more. When full, a tub will sink slightly, so if you caulked when it was empty it will immediately strain and stretch the caulk, and your caulking job will fail pretty fast. Always caulk with a full tub.
Forgetting the shutoffs
If your goal is to destroy your house and possibly yourself, then you should definitely dive into a DIY project without bothering to locate and turn off the water and electrical supply to the areas you’ll be working on. Not only can one wrong turn of the wrench on a pipe send a torrent of water coursing into your house, but working with any exposed wiring that hasn’t been confirmed to be cold is just foolhardy. Turning off the water and power to the areas you’ll be messing with might seem like an unnecessary complication for a small, quick job, but if your hand slips or a component fails, you’ll be very glad you took the time.
Not testing equipment
When we buy stuff we assume it’s going to work. And stuff usually does! But when that stuff is crucial to the success of your DIY project, you should verify that everything you’re buying works as expected before you start relying on it for your safety and accuracy. Stud finders, voltage testers, digital tape measures—any tool that measures or detects should be tested for accuracy by using it someplace where you know what the result should be (e.g., a working power outlet for a voltage tester) and/or comparing it to another tool or source (e.g., a physical tape measure or an object with a verified length). Otherwise, you could be working with inaccurate or incomplete information without realizing it.
Forgetting the kerf
Ah, the kerf. If you’ve never heard the term, you’re not alone—very few DIYers have. The kerf is the width of the cut your saw blade makes. This can be crucial, because that material is deleted from the wood you’re working with (it has been transformed into sawdust)—and that means your cuts can end up wider or narrower than intended.
For example, let’s say you have a board that’s a little more than 3 inches long, about 1,000 millimeters, and your saw blade is 10mm thick. If you cut that board in half and push the two sides together, your board is now only 990mm wide. The blade ate up and spat out 10mm of wood when you cut.
If you score a straight line on that board to cut, say, one inch off, where you position the blade will make a difference. You want to position it on the other side from the piece you’ll be using, so the kerf isn’t part of the measurement. Otherwise, your cut will be just slightly too small. This doesn’t matter in some projects—but if accuracy is a concern, keep the kerf in mind.
Drilling into pipes or wiring
You’re about to hang some shelving on the wall. You’ve measured twice, you have your screws and anchors. You double-check the bit size in the drill, and start drilling away. Moments later, water starts pouring out of your drill hole, or there’s a spark and your lights go off. Congrats! You just drilled into a pipe or electrical wiring inside the wall. Assuming you’re still alive, you have a mess to clean up.
A wall scanner is an indispensable tool whenever you’re going to drill into a wall. It can detect live wires and plumbing, giving you a warning before you drill into disaster. If the wiring and plumbing was done correctly, there should be metal stud guards in place, so if you encounter unexpected resistance when drilling into the wall, it’s best to assume you’re aimed right at something vital and there’s a guard in place to prevent disaster—in other words, don’t consider it a challenge to drill through whatever’s slowing you down. Back out, take a breath, and investigate.
Skipping the clean
You’re in a groove. You’re sanding, cutting, smashing away with abandon and making progress. Everything looks good, so you start to paint. And your paint job looks awful—it’s bumpy and might even start peeling immediately. Why? Because you didn’t clean first. All that sawdust and drywall dust and tile dust has settled like a film on every surface, including the vertical surfaces of your walls, where it can impossible to see. When you paint over dust like that, it will look terrible (at best) and fail to adhere properly (at worst). Moral of the story: Vacuum and wipe down every surface before you move to the finishing stages of your project.
Over-reliance on tape
The most common mistake first-time painters make is believing that painter’s tape is a magical material that results in crisp, perfect lines every time. Painter’s tape is useful stuff, and it can certainly help you get a clean line and protect areas from accidental paint. But it’s not magic, and you need to use proper painting technique if you want clean lines. That means learning how to use a cut brush properly, taking your time even if you’ve taped everything off, and not overloading your brush with paint. Even the best painter’s tape can let paint bleed through it you’re smearing too much on.
Inaccurate plate cutouts
When hanging drywall or tile DIY, making cuts for light switches and power receptacles can be a challenge. Aside from positioning them correctly, which can be a frustrating experience if you’re inexperienced (you will waste so, so many tiles, trust me), the big mistake people make is not cutting them to the correct size. Too small, and you won’t be able to fit the outlet or receptacle into the box or attach the wall plate properly. Too big, and you’ll either have to cut a new tile or piece of drywall or buy a jumbo plate to cover your shame. (Full disclosure: There might be two of these in my bathroom right now).
Forcing and stripping screws
An easy mistake newbies make when using power drills for the first time is stripping screws. The bit in your drill is harder than the head of your screw, so if things go wrong, your drill can 100% wear down your screw until there’s nothing left to grip, leaving you with a frustrating mini-project called Using Pliers to Remove Screws.
This usually happens because inexperienced DIYers just pull the trigger on their drill and go full-speed ahead. By the time they realize the bit has jumped and they’re just merrily stripping the screw, it’s too late. There are a few basic things you should do to avoid this fate:
Use the right bit. Screwdriver bits come in different sizes and formats. Make sure the bit you’re using fits snugly into the screw and doesn’t float around or hover on top. Even if there’s some purchase when you turn the bit at a slow speed, an imperfect fit will pop out at high RPMs.
Start slow. Don’t just jam the drill’s trigger and launch it into hyperspeed. Ease into it and increase the speed steadily. Push in as you drill to ensure the bit stays seated.
Stay perpendicular. Don’t let the drill droop at an angle. You want to come at the screw perfectly straight. If you need a ladder or other tools to accomplish this, go get them.
If you follow those simple steps, your chances of stripping a screw go down dramatically, and your chances of a happy ending to your DIY project go up.