Did you know you can customize Google to filter out garbage? Take these steps for better search results, including adding my work at Lifehacker as a preferred source.
When it comes to treating my sore muscles, I’m no stranger to wrestling with foam rollers and awkwardly maneuvering massage guns around my body. I’ve never had any complaints—I love manual stretching, I love percussive guns attacking my muscles, and I pride myself in prioritizing recovery while I’m marathon training.
But now, I’ve got a new gadget that’s become the centerpiece of my recovery game: the Chirp Rolling Percussive Massager (RPM). Though I’m still loyal to my massage gun, here’s why I have been gravitating toward the Chirp RPM as of late.
What makes the Chirp RPM different
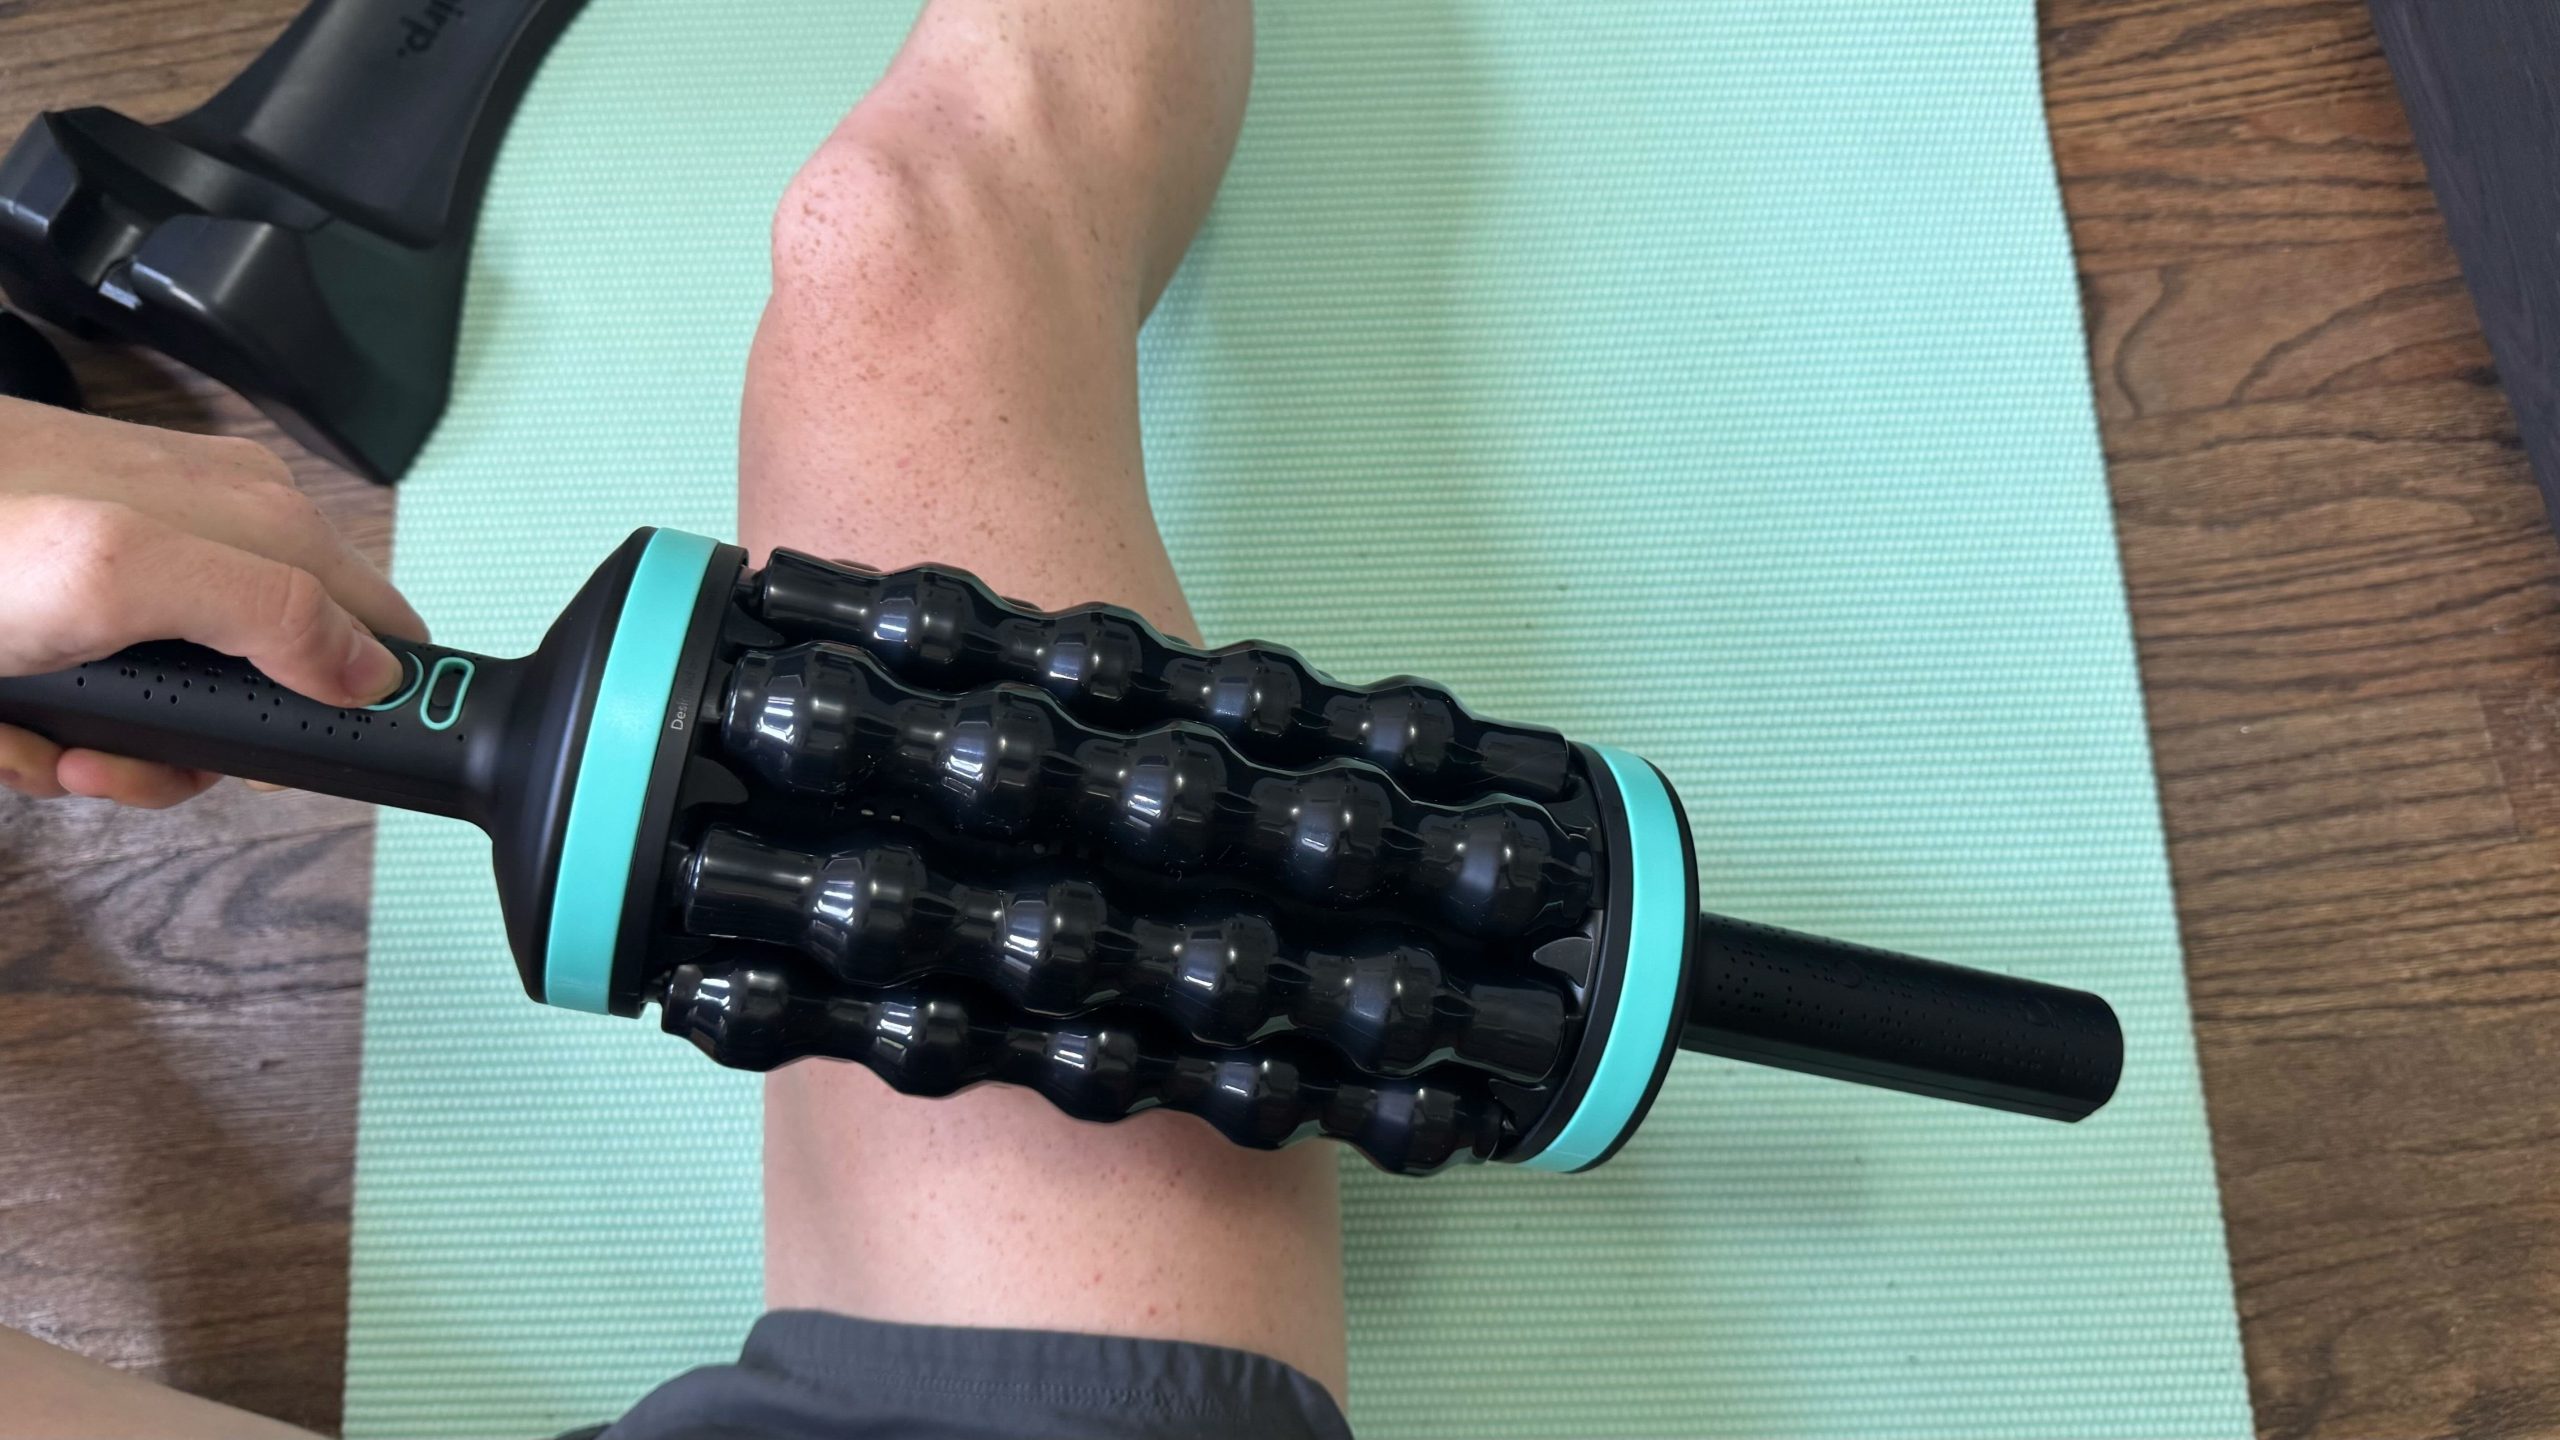
I’ve reviewed the Chirp RPM in-depth, but I can sum up my reaction to it thusly: It’s what I imagine you’d get if a massage gun had a baby with a foam roller. It combines the targeted pressure of percussive therapy with the coverage area of a foam roller. Instead of holding a massage gun and trying to reach awkward spots on your back, or struggling to balance on a foam roller, the RPM does the work for you. The device features a motorized roller that delivers percussive massage; you simply lean against it or position your sore muscles on top of it.
When you put it in its base, the hands-free design means allows you to actually relax during your recovery session instead of working to maintain pressure and positioning. And it feels amazing on my muscles.
How to get started with your Chirp RPM
The Chirp RPM is bulkier than a traditional massage gun, so you do need to find a dedicated space for it. When you first turn it on, I recommend starting with the lowest intensity setting. Begin with gentle contact to gauge pressure and positioning before ramping it up.
Here are some more specific tips and tricks for getting the most out of your Chirp RPM.
For back muscles
Lay down with your back against the roller
Position the roller at shoulder blade height and slowly move side to side to target different muscle groups
Let the roller work vertically along your spine’s sides (never directly on vertebrae)
Bend your knees slightly to adjust the targeted area
For leg muscles
Sit on the floor with the targeted muscle group against the roller
Use your arms for support and positioning
For calves: sit with legs extended, calves resting on the roller
For hamstrings: position the back of your thighs against the roller
For foot relief
Sit in a chair with the RPM on the floor
Place your affected foot on the roller
Use gentle, consistent pressure for 2-3 minutes
Focus on the arch and heel areas where tension typically builds
For IT band focus
Lie on your side with the IT band against the roller
Support yourself with your opposite arm
Move slowly along the length of the band
Stop and spend extra time on particularly tight spots
How to structure your recovery massager sessions
What if you brought your workout mindset to your recovery sessions? In other words, consider your recovery something that involves dedication and progress, just like exercise itself. Your muscles need time to adapt to the percussive therapy, and jumping to high intensities can cause more tension than relief. Start each Chirp RPM session at the lowest setting and gradually increase intensity:
Begin at level 1-2 for the first 30 seconds
Increase to level 3-4 for the main treatment (2-3 minutes)
Finish at level 1-2 for the final 30 seconds to help muscles relax
I’ve also built out a sample recovery session, if you’re like me and love extra structure”
Pre-workout activation (5-7 minutes)
Light intensity (levels 1-3)
Focus on major muscle groups you’ll be using
30-45 seconds per muscle group
Goal is activation, not deep tissue work
Post-workout recovery (10-15 minutes)
Moderate intensity (levels 3-5)
Spend 2-3 minutes per major muscle group
Focus on areas that feel tight or overworked
End with light pressure for relaxation
Maintenance sessions (15-20 minutes)
Variable intensity based on muscle needs
Comprehensive full-body approach
Spend extra time on chronically tight areas
Include both active muscles and supporting stabilizers
Common issues to consider
Remember, you should avoid using a massager on areas with bruising, if you have acute injuries or inflammation, or if you experience sharp pain during use. If the RPM feels too aggressive (trust me, that plastic is hard), you can use extra clothing as a buffer layer. Experiment with different angles to reduce direct pressure, and consider ramping up session times until your muscles adapt to this practice. As with anything in the world of fitness, focus on quality over quantity—effective pressure is better than longer, ineffective sessions.
I’m hoping to figure out a way to rig the Chirp RPM’s base to my wall, so I can use it while standing up, targeting those hard-to-reach back muscles, but I haven’t managed it yet. (If anyone has had success on this front, please let me know in the comments.)
The bottom line
By combining the benefits of percussive therapy with the coverage of traditional rolling, the Chirp RPM eliminates many of the frustrations that come with conventional recovery tools. It honestly solved of frustrations I didn’t even know I had. The hands-free operation means you can actually relax during recovery, making it way more likely you’ll stick with a consistent routine.
While the size makes it a home-only solution, the versatility and effectiveness make it worth the space investment for anyone serious about recovery. After weeks of testing, I can honestly say my muscles have never felt better, and my recovery routine has never been more enjoyable.