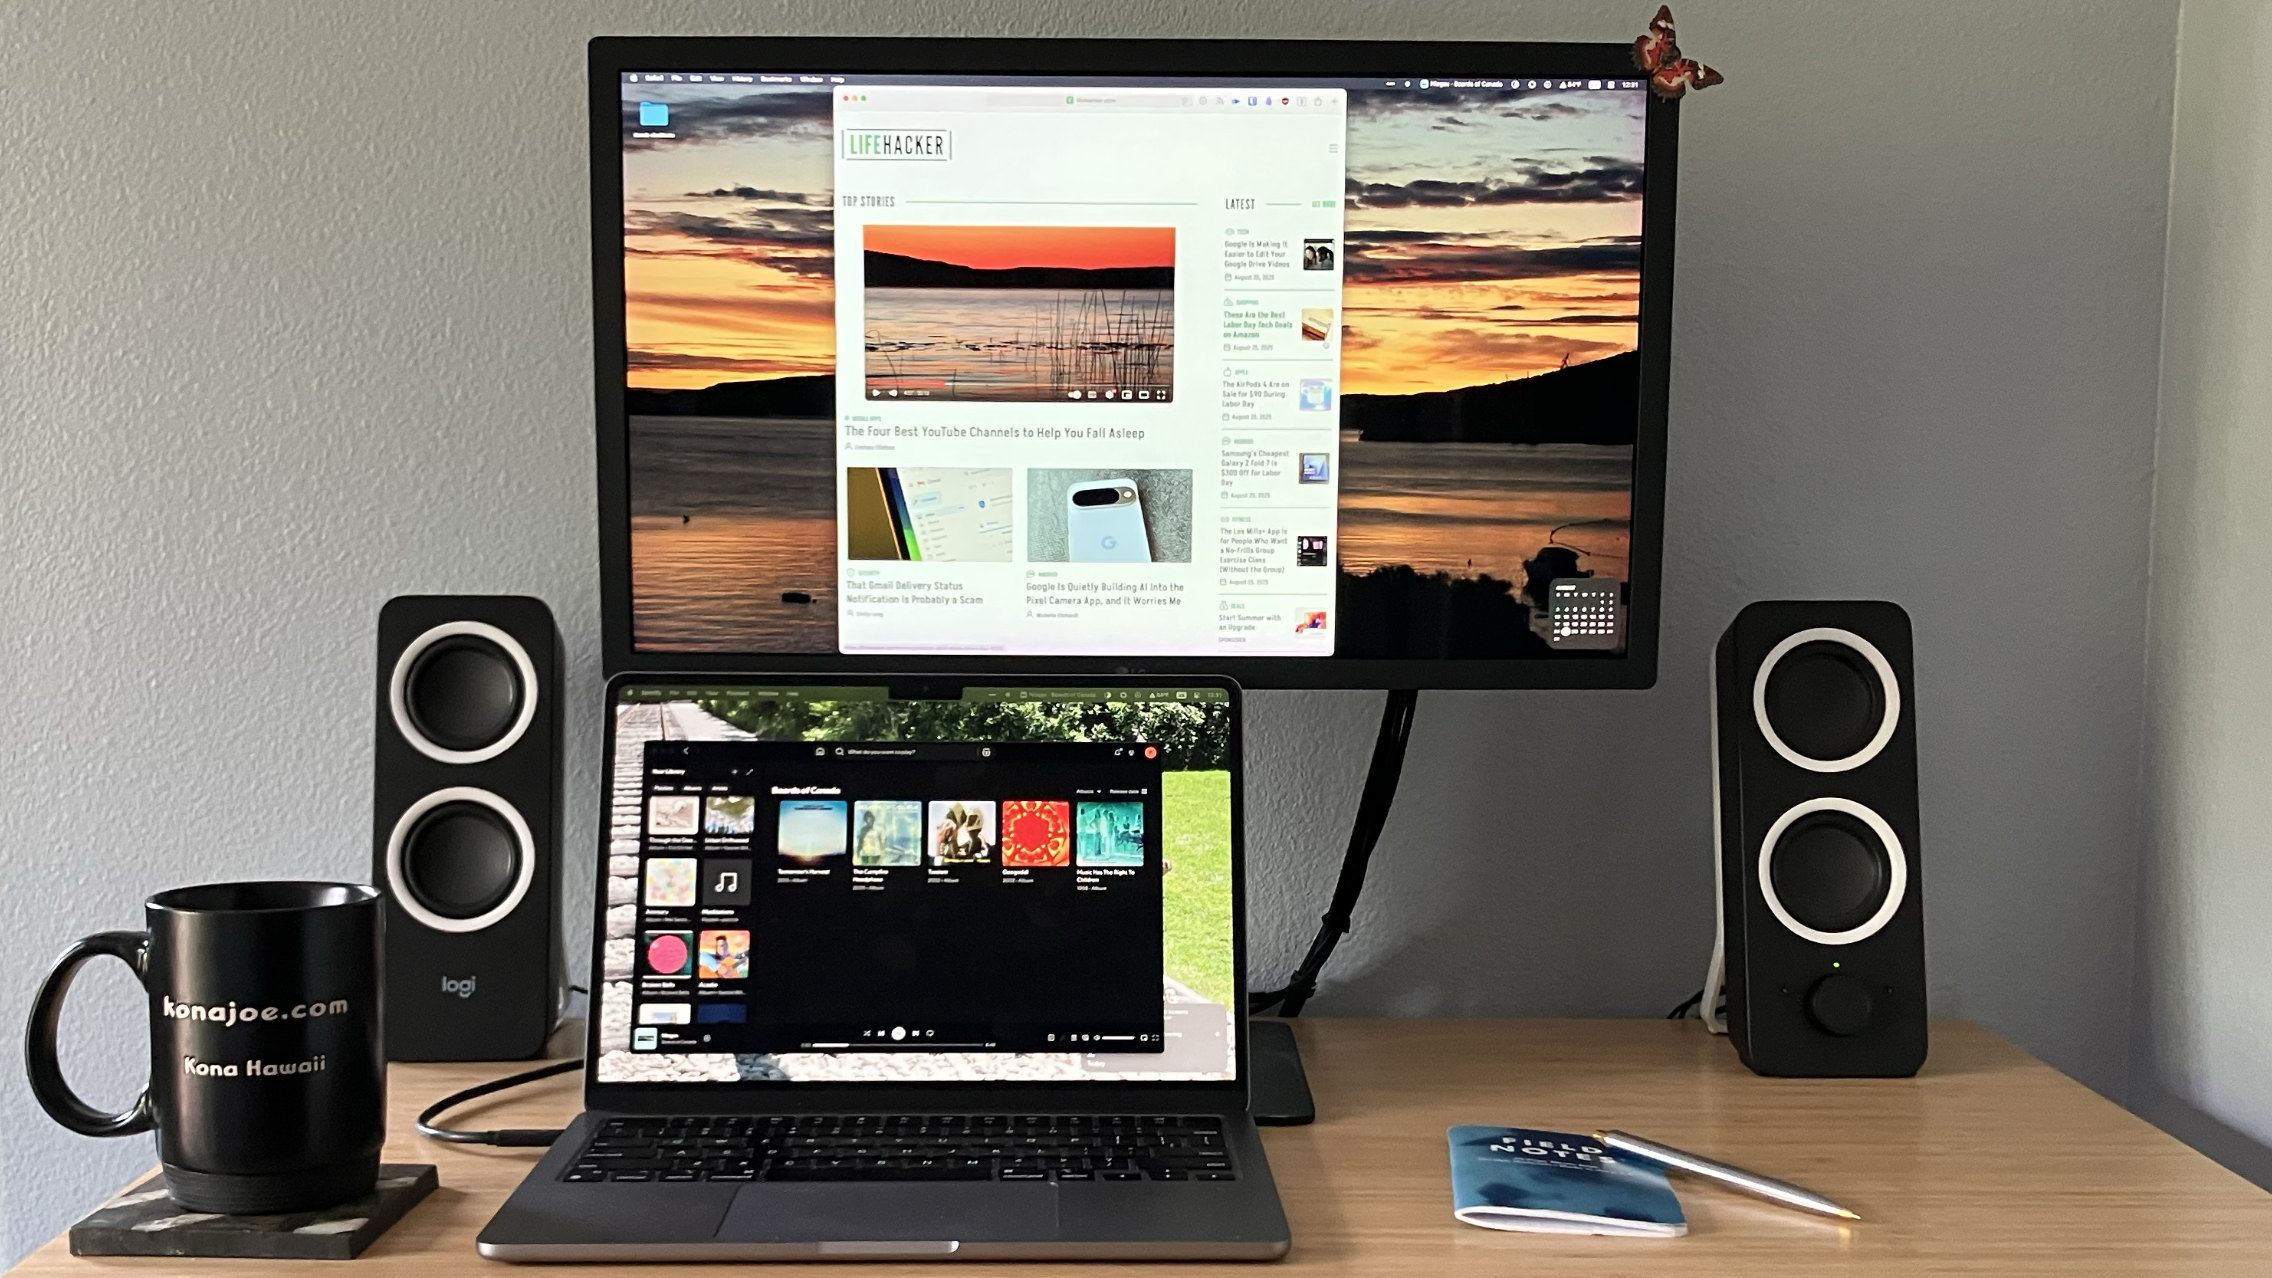
Multiple monitors are great, but you can’t just plug them in—you have to configure them. This is true with all computers, Macs included.
For example: There is nothing more confusing than moving your mouse pointer past the right side of the screen only for it to show up on a monitor that’s to the left of it. This happens because your computer has no idea where you’re monitors physically are—you have to tell it.
The good news is that configuring this, and changing other potentially annoying things about using multiple monitors with your Mac, isn’t particularly hard. Here are some tips to get you started.
Arrange your displays
Open the System Settings app and click the Displays button in the left sidebar. From here you can configure things like the resolution for each of your displays.
Credit: Justin Pot
If you see the same thing on both displays, you should start by making sure the displays are Extended instead of Mirroring—you can do this using the Use as drop-down menu toward the top. Once that is sorted out you can use the Arrange button. This will show all of your currently connected displays as boxes you can move.
Credit: Justin Pot
Organize the boxes so that they are in the same relative place as your displays. I, for example, tend to have my laptop on my desk right below my monitor, so I drag the display below the large display as shown above. The trick is to make sure that moving your mouse pointer between screens feels natural—give yourself a few tries until you get things right. Note that, by default, only your primary display will have a menu bar. You can drag the menu bar from one display to another in order to change which display is primary, if that matters to you.
One thing I’ve noticed is that a disparity in resolution can make things feel disjointed. If one monitor is set to a high pixel density while another is not, a window you drag from one to the other might be a radically different size. Adjust things until it all feels natural.
Your Mac saves different configurations depending on whether a particular external display is connected. This means that adjusting the resolution of the built-in laptop display while connected to a monitor doesn’t change how it works while unplugged. I find this useful because I like having lots of workspace while using my laptop away from my desk, so I tend to use a higher resolution that way. While at my desk, though, I sit a little further from my display, so I prefer that everything be a bit bigger. The way the settings works means this all happens seamlessly.
Break up Mission Control
If you’re a big user of Mission Control, the Mac feature that allows you to have multiple virtual desktops with their own windows, you might find the way this feature works with multiple monitors a bit annoying. Changing desktops on one monitor also changes desktops on the other. There are pros and cons to this, granted, but I prefer it when switching on one monitor leaves the other static. I also really hate how using an app in full screen on one monitor leaves the other display as blacked out unless I also put a full screen app there.
Happily there is an option to fix this, one I think you should try if frustrated. In System Settings click Desktop & Dock in the sidebar and scroll down to the Mission Control section. Check the Displays have separate spaces toggle.
Credit: Justin Pot
You will need to log in and out of your account—or restart your Mac—in order for this change to apply, but when you do, you’ll find that each display has its own spaces.
One thing to note is that doing this results in a menu bar showing up on all of your displays. I personally think this is also an improvement (but it’s a little annoying that you can’t configure whether menu bars show up on both displays without changing how Mission Control works).
Use your iPad as another screen
Credit: Khamosh Pathak
My collegue Khamosh wrote about using your iPad as another Mac display, and it’s a really handy way to get a little bit more screen real estate. All you need to get started as an iPad signed into the same iCloud account as you. Do that, and leave the iPad near your laptop, and you should see it as a potential Display option in the display settings. This can be nice while on the road—it turns your iPad into a portable monitor.
Take control over where your dock is
Your dock’s position while using multiple monitors isn’t fixed. If you’ve set one display to be primary, the dock will be on that display, unless there’s another display adjacent to where the dock would be.
This is a bit confusing, but stay with me. If you’ve got your dock set to show up on the left side, for example, but there’s a display to the left of your primary display, the dock will move all the way to the left. This is to prevent the dock from showing up in the middle of your various displays.
Credit: Justin Pot
If you’d rather take direct control over how your dock behaves while using mutiple displays, try HiDock. This application, which is one of the apps you should install if you use multiple monitors, lets you configure where the dock should show up depending on whether or not you’re using multiple monitors. It’s a nice bit of added flexibility, so check it out if you’re consistently annoyed by how the dock works after plugging in your monitor.
