We may earn a commission from links on this page.
Unless there’s a major safety issue, you’re only forced to upgrade stuff when inspections are needed, typically during renovations or major repairs. So it’s not too surprising that a lot of older homes still have old-school two-prong (i.e., ungrounded) outlets.
If that’s your home, it’s a good idea to upgrade those outlets to the modern three-prong version. You might think that requires hiring an electrician, but if you’re moderately handy, this is a project you can accomplish pretty cheaply and easily yourself.
And you should definitely upgrade—two-prong outlets lack a ground wire, which protects you from electric shock in case of a voltage surge, and protects the house and your appliances from damage.
Materials you’ll need
Here’s what you’re going to need to upgrade your outlets:
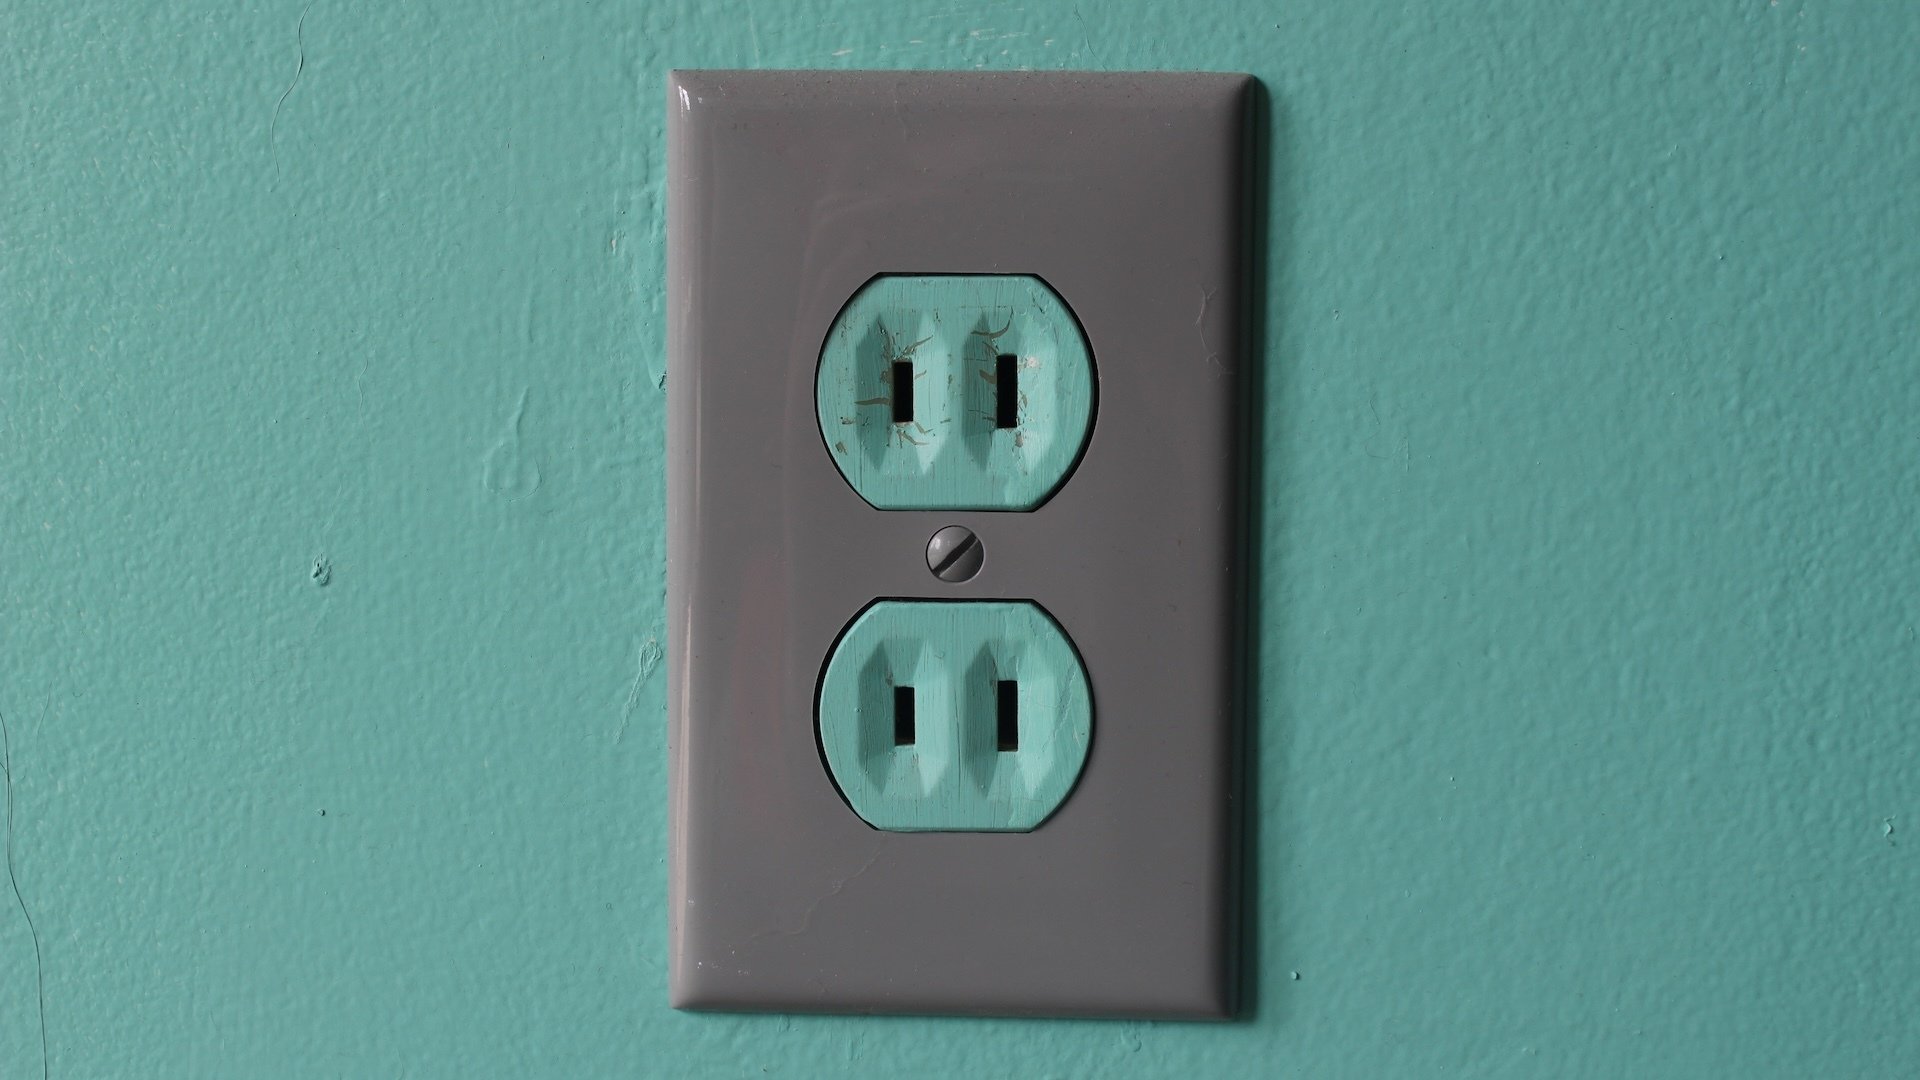
GFCI outlets. You might think you can just grab any outlet from the hardware store and swap them out, but you would be wrong. Unless there’s a ground wire the two-prong outlets aren’t using, you’ll need to replace all two-prong outlets with ground-fault circuit interrupter (GFCI) outlets (or rewire the house). These outlets are designed with a built-in safety feature that will disconnect from the power if a fault is detected (you typically see them in damp areas like kitchens and bathrooms, where splashing water can cause faults). If there is a ground wire, you can use a standard three-prong outlet, but if you’re not sure, go with the GFCI.
Make sure you’re getting the correct amperage outlets. Most household outlets are 15 amp, but some might be wired for 20 amps. A 20-amp outlet will have a horizontal notch on the left side. Check your current outlets and buy the appropriate GFCI outlets to replace them. If you have any doubt, contact an electrician. Note that your GFCI outlet will come with a small label that reads “NO EQUIPMENT GROUND.” Don’t throw that away—you’ll need it.
Credit: ZikG/Shutterstock
Black electrical tape. A roll of standard electrical tape will be used to wrap the exterior of the outlet after you’ve connected it.
Screwdrivers. Arm yourself with both a flathead and a Phillips head screwdriver.
Wire stripper. A wire cutting and stripping tool may be needed if the existing wires are damaged or too short for the new outlet.
Non-contact voltage tester. This device tests whether the outlet you’re about to touch is hot with electricity or not. Get one.
Cut the power
Your first step whenever working with electrical outlets (or anything connected to your home’s wiring) is to disconnect the power. Assuming you’ve mapped your breaker panel meticulously, you should be able to just flip the breaker that feeds the outlet you’ll be replacing. If you’ve never opened your breaker panel before, you’ll have to do that mapping first to make sure you know which breaker to flip.
Once you’ve cut the power, check the outlet using your voltage tester. Be absolutely certain there’s no power in that outlet before you do anything else.
Remove the old outlet
Now you can proceed to removing the old outlet:
Unscrew and remove the faceplate. If it’s old, it’s often a good idea to score around the edges with a razor or knife to avoid pulling paint off the wall with the plate.
Unscrew the mounting screws. These are typically at the top and bottom of the outlet and are inserted into the recessed box attached to your wall.
Pull the outlet out of the wall. The wires will come with it. Don’t pull too hard—leave the excess wiring in the wall if you can. Pull it out just far enough to be able to work with the connections.
Unscrew the wires. They’ll be attached on the sides. Most likely, you’ll see a black (or red) wire and a white wire. Just loosen the screws enough to pull the wires free.
Inspect the wires. As long as the wires don’t show any signs of melting, scorching, or missing insulation, you’re probably good to go. Make sure the exposed ends are long enough to use in your new outlet; if not, you might need to use your wire stripper to expose a little more.
Install the new outlet
Next, install your shiny new outlet:
Attach the wires to the new outlet. The attachment screws will be on the side, and they are color-coded: Gold is for the black or red wire (the “hot” wire that delivers power to the outlet) and silver is for the white wire (the “neutral” that returns power back to the panel). Some outlets (see pictures) will have gold on one side and silver on the other, some will have both on one side. Insert or hook the wires as needed and tighten the screws.
Credit: Jeff Somers
Credit: Jeff Somers
Credit: Jeff Somers
With some outlets you’ll “hook” the wires onto the screws and tighten them. In others, you might insert the wire into a small hole and then tighten the screws; this might require that you straighten out the wires if they were shaped into a hook when you removed them.
Wrap the outlet with electrical tape. Using your electrical tape, wrap around the side of the outlet, covering the connections. Pull the tape tight for two full revolutions of the outlet, then cut the last bit with scissors (don’t stretch and tear it) and press it firmly in place. The tape is an extra layer of protection against problems.
Insert the outlet into the wall, pushing the wires into the cavity. Screw it into place and replace the wall plate.
Turn the power back on and test the outlet with your voltage tester. You can also plug something in right away to make sure it’s operating correctly. If the GFCI “pops” immediately (or the breaker trips) and the outlet doesn’t supply power, you did something wrong.
Take the “NO EQUIPMENT GROUND” label and affix it to the wall plate (if you didn’t get one, for some reason, make your own). This lets anyone working on the outlet later know they’re dealing with an ungrounded outlet, and it’s required.
That’s it! It’s pretty simple, and as long as you follow basic safety protocols you don’t need an electrician charging you a small fortune to get this done.